
How To Make Homemade Marshmallows Without Corn Syrup
This post may contain affiliate links. Please read our disclosure policy.
Jump to RecipeThese homemade honey marshmallows are soft, fluffy, and made without corn syrup. With just a handful of simple ingredients, you can make homemade marshmallows that are perfect for hot cocoa, Christmas treats, or even freeze drying!
For the longest time, marshmallows seemed like one of those foods that would be complicated to make at home. But once you learn the basic process, they’re surprisingly simple and easy.
You can use sugar, or honey. I have also read that you can use maple syrup but we have not experimented with maple syrup in this recipe yet. My kids prefer sugar (I use organic cane sugar) because they taste similar to store-bought marshmallows, but we also like using honey for a naturally sweetened version.
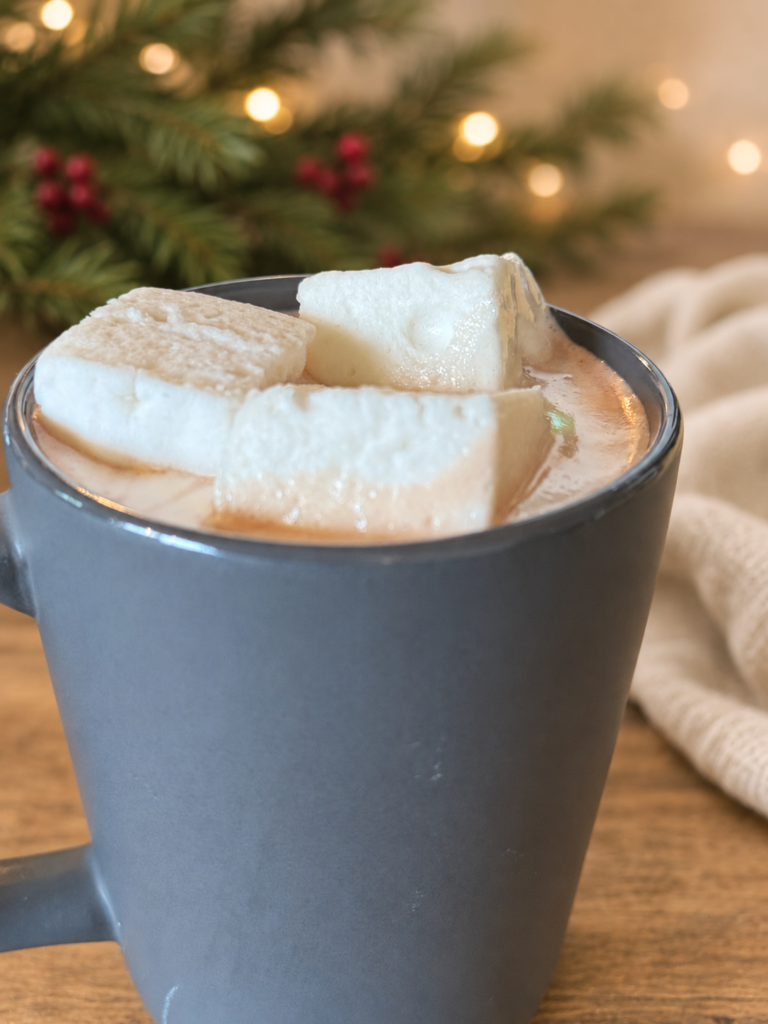
The result is a soft, fluffy marshmallow that is absolutely delicious floating on top of a warm mug of 3-Ingredient Homemade Hot Cocoa With No Refined Sugar.
And if you have a freeze dryer, cut these into little marshmallow bites and freeze dry them for crunchy homemade hot cocoa marshmallows!
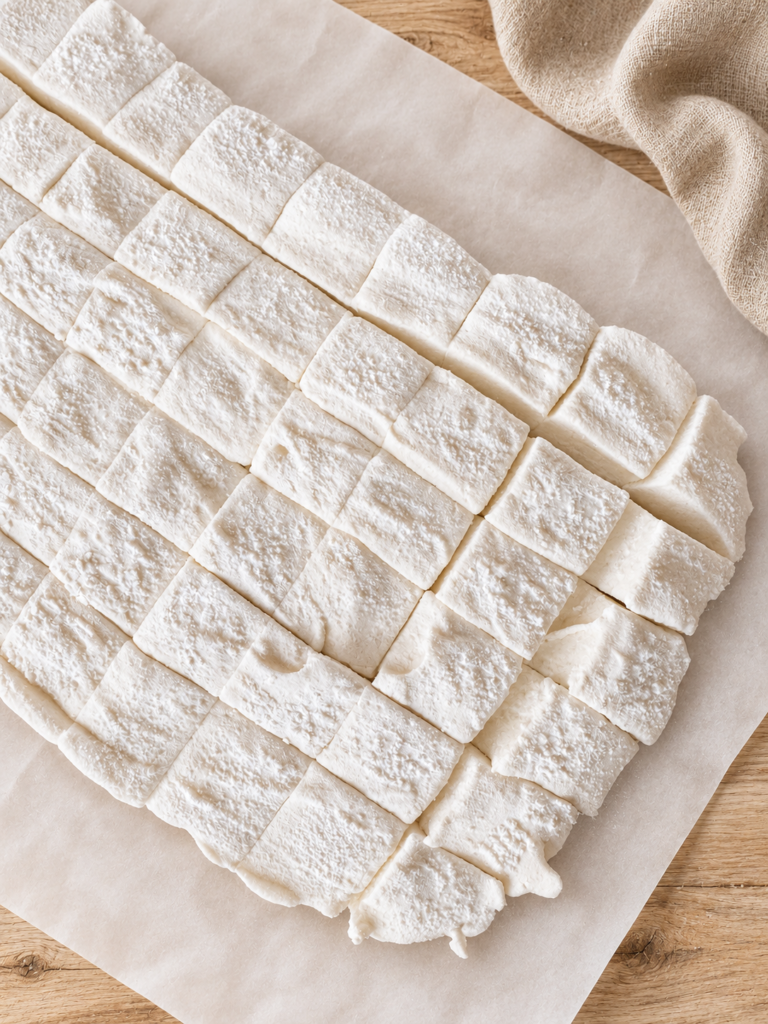
Why You’ll Love These Honey Marshmallows
These homemade marshmallows are:
- Sweetened with organic cane sugar or honey
- Made without corn syrup
- Soft and fluffy
- Made with just a few simple ingredients
- Delicious in homemade hot cocoa
- Easy to cut into large marshmallows or tiny hot cocoa marshmallows
They’re also just plain fun to make!
Watching a thin honey or sugar mixture transform into thick, glossy marshmallow fluff feels a little bit like kitchen magic.
Ingredients for Homemade Honey Marshmallows

Sweetener (Sugar or Honey)
Honey or organic cane sugar is what sweetens these marshmallows.
Because honey has its own distinct flavor, choose a honey you enjoy eating. A mild-flavored honey will give you a more traditional marshmallow flavor, while a stronger honey will be more noticeable in the finished marshmallows.
Unflavored Beef Gelatin
Gelatin is what gives marshmallows their signature soft, springy texture.
Make sure you’re using unflavored gelatin, rather than flavored gelatin. I prefer to use grass-fed beef gelatin. Not all gelatin is created equal and we for sure first tried one that was not beef gelatin from our local market that tasted terrible. We found one on amazon that we love and truly has no flavor and you can find the link below.
Our favorite unflavored Grass-fed beef gelatin
Water
You’ll use cold water to bloom the gelatin and use some more to create the hot syrup with the sugar/honey.
Vanilla extract
Vanilla gives the marshmallows that familiar sweet, warm flavor.
Salt
A small amount of salt balances the sweetness and enhances the vanilla and sweet flavors.
Favorite mineral salt
Arrowroot powder – for dusting
Arrowroot powder helps prevent the finished marshmallows from sticking to the pan, your knife, and one another.
You can also use another suitable starch for dusting if preferred. I highly recommend not skipping this, because we did it once without it and although the marshamallows turned out, they were extremely sticky and hard to cut and handle and store.
Equipment Recommendations
You’ll want a few basic kitchen tools for this recipe:
7 × 11-inch baking dish (approximately 18 × 28 cm)
A stand mixer makes homemade marshmallows especially easy because the mixture needs several minutes of whipping.
How to Make Marshmallows
1. Prepare Your Pan
Line an 8×8-inch, 7×11, or 9×13 baking dish with parchment paper and lightly dust it with arrowroot powder. You can use any of these size dishes, the 8×8 will have the thickest (tallest marshmallows and the 9×13 pan will make a shorter marshmallow. In this post you see a 7×11 inch dish which is my preferred size.
Make sure you line the bottom and sides of the pan with the parchment paper so the marshmallows will release easily after setting.
2. Bloom the Gelatin
Pour 1/2 cup cool water into the bowl of your stand mixer.
Sprinkle 3 tablespoons unflavored gelatin evenly over the water.
Let it sit for about 5–10 minutes while you prepare the hot syrup.
The gelatin will absorb the water and become thick. This is called blooming the gelatin.
3. Heat the Honey/sugar
Choose whether you are going to use honey or sugar for this recipe.
Add 1 cup honey (or 1 1/2 cups sugar), plus 1/2 cup water, and ¼ teaspoon salt to a small saucepan.
Heat over medium heat.
Once the mixture begins cooking, keep an eye on the temperature with a candy thermometer.
Cook the honey mixture until it reaches approximately 240°F, also known as the soft-ball stage.
Be careful when working with the hot syrup—it will be extremely hot.
4. Combine the syrup and Gelatin
Turn your mixer on low.
Very carefully and slowly pour the hot honey mixture down the side of the mixing bowl into the bloomed gelatin.
Once all of the syrup has been added, gradually increase the mixer speed to high.
*please note that the smell of the gelatin while it is hot/warm will not smell good. The smell goes away after it cools and it does not reflect the flavor of the marshmallows.
5. Whip Until Fluffy
Whip the mixture on high for approximately 8–12 minutes.
You’ll see it transform from a thin liquid into a much brighter, thick, glossy marshmallow mixture.
The exact whipping time can vary, so pay attention to the texture rather than relying only on the clock.
The marshmallow mixture should be thick, fluffy, and significantly increased in volume.
Add 1 teaspoon vanilla extract during the final couple minutes of whipping.

6. Transfer to the Pan
Immediately scrape the marshmallow mixture into your prepared baking dish.
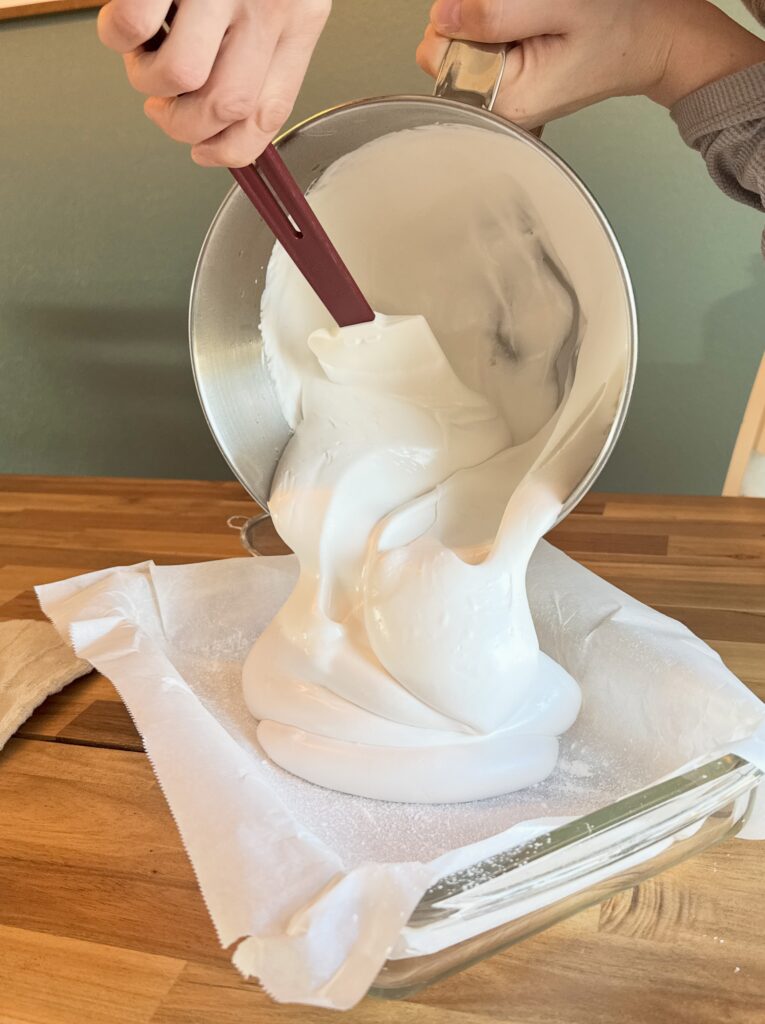
Work fairly quickly because the marshmallows will begin setting as the mixture cools.
Use a lightly greased silicone spatula to spread the top as evenly as possible.
Dust the top with arrowroot powder.

7. Let the Marshmallows Set
Leave the marshmallows uncovered or loosely covered at room temperature for approximately 6–8 hours, or overnight.
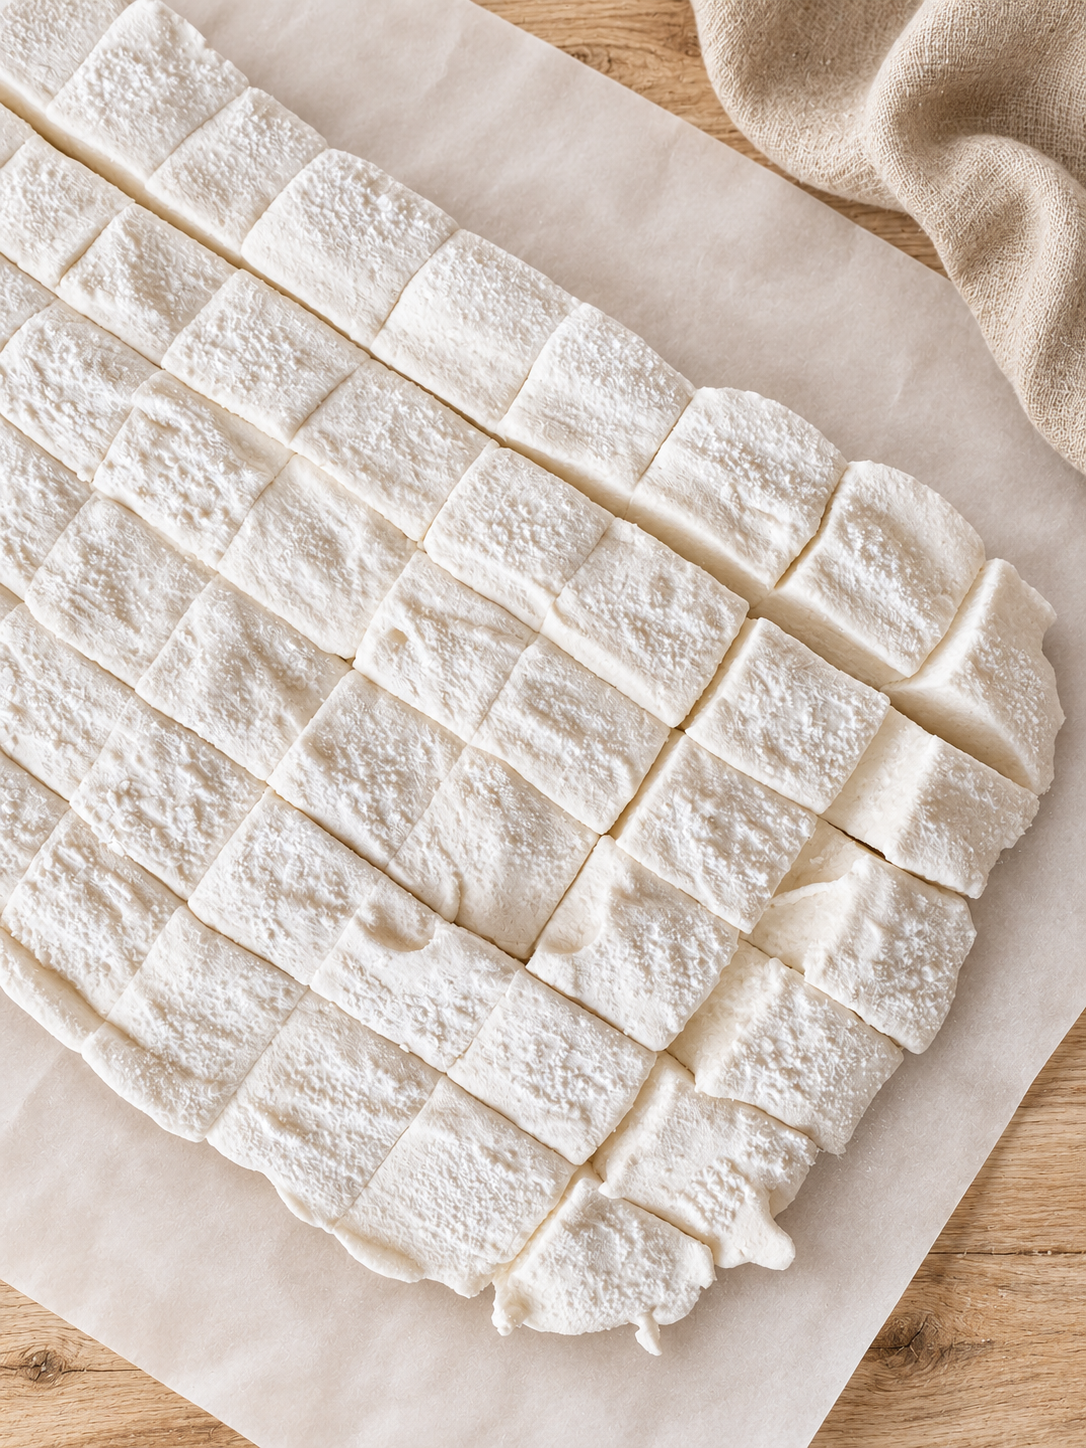
Once completely set, use the parchment paper to remove the marshmallow slab out onto a cutting board and cut into desired size pieces.
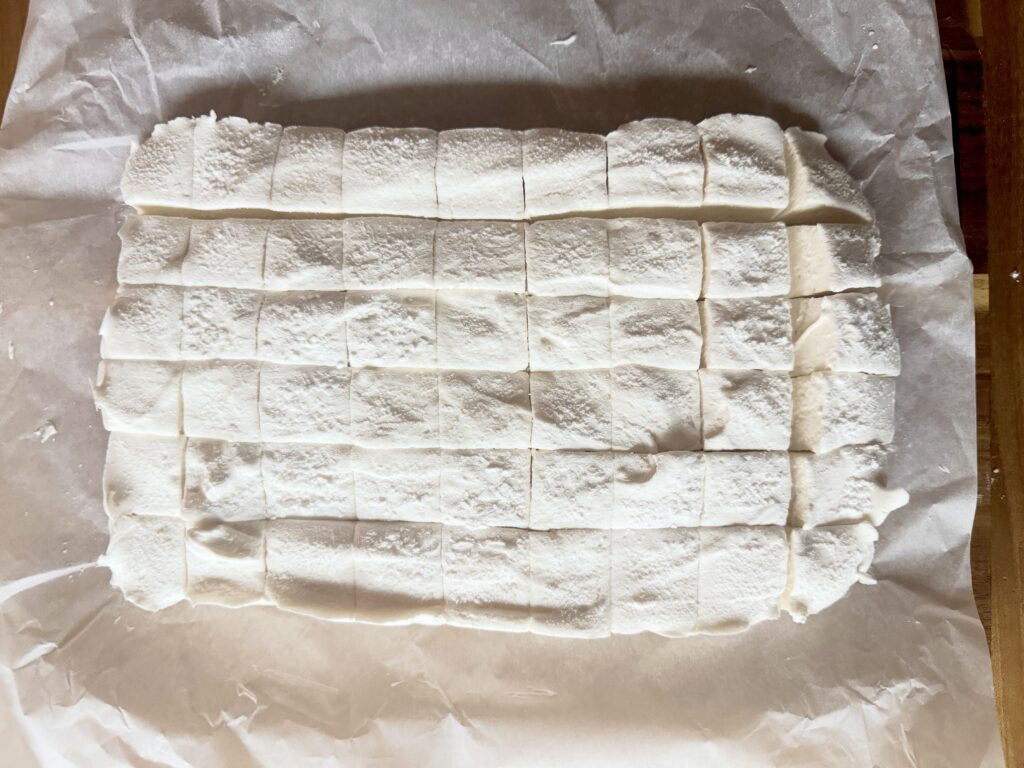
How to Cut Homemade Marshmallows
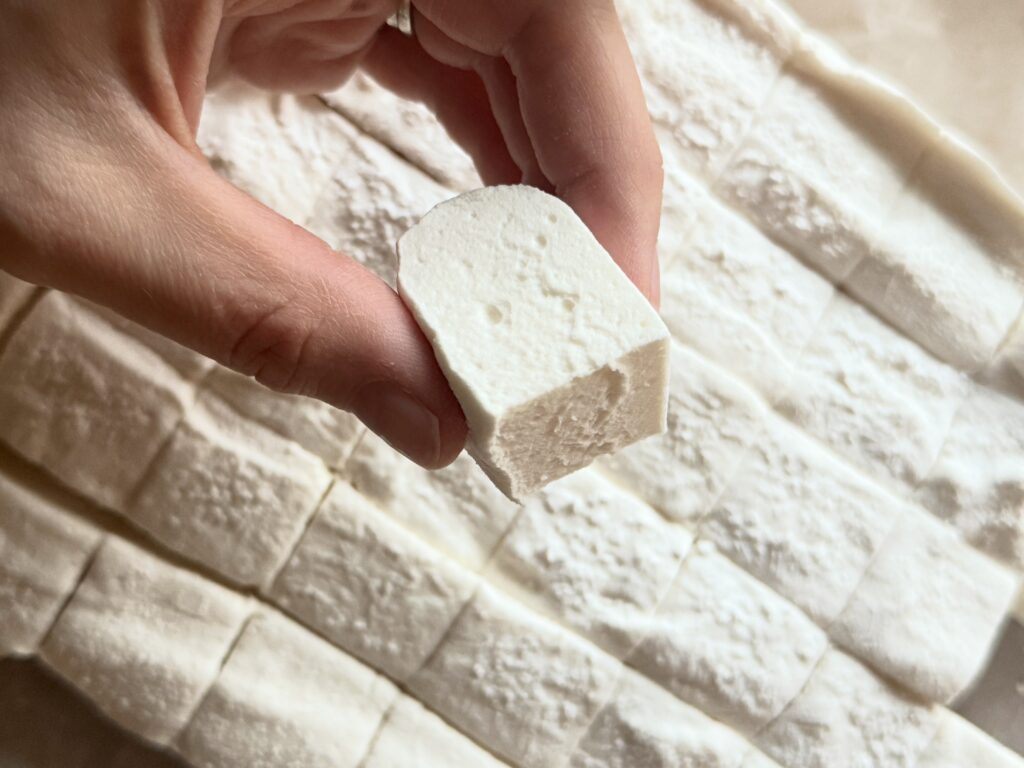
Dust a sharp knife with arrowroot powder and cut the marshmallows into squares.
For regular marshmallows, cut them into approximately 1-inch squares.
For hot cocoa marshmallows, I love the idea of cutting them much smaller so you can sprinkle several little marshmallows over each mug. These smaller sizes are also ideal for freeze drying.
You can toss the cut edges lightly in arrowroot powder to keep the marshmallows from sticking together. I found just doing the bottom and tops works pretty good and I don’t usually do extra dusting.

Homemade Marshmallows for Hot Cocoa
These are especially delicious paired with my Homemade Hot Cocoa With No Refined Sugar.
Both recipes can be naturally sweetened with honey, so together they make such a simple from-scratch winter treat.
Make a batch for Christmas movie night, a snowy afternoon, or Christmas morning.
You could even package homemade marshmallows with hot cocoa ingredients for an easy homemade Christmas gift.

Can You Freeze Dry Homemade Marshmallows?
Yes! Homemade marshmallows are one of our favorite things to freeze dry and my kids love putting these little freeze-dried treats in their hot cocoa!
Cut the marshmallows into small pieces before freeze drying. This gives you little crunchy marshmallow bites that are perfect for adding to hot cocoa.
Once completely freeze dried, immediately package the marshmallows in an airtight container or Mylar bag to protect them from humidity.
How to Freeze Dry Homemade Marshmallows — post coming soon!

Do Honey Marshmallows Taste Like Honey?
Yes, there will be some honey flavor because honey is the only sweetener in this version of the recipe.
How noticeable it is depends heavily on the honey you use.
If you want a more neutral marshmallow, choose a mild honey. If you love the flavor of honey, use your favorite variety and let that flavor shine.
The vanilla also helps give these marshmallows that classic sweet marshmallow flavor.
If you aren’t a fan of honey flavor, stick to using organic cane sugar to get a flavor that tastes like “regular” marshmallows.
Why Didn’t My Homemade Marshmallows Set?
Temperature is important when making homemade marshmallows.
If the honey syrup doesn’t reach the proper temperature, the finished marshmallows may remain too soft.
That’s why I recommend using a candy thermometer and bringing the syrup to approximately 240°F rather than simply boiling it for a certain number of minutes.
It’s also important to use enough gelatin and allow the finished marshmallows plenty of time to set before cutting them.
Why Are My Homemade Marshmallows Sticky?
A little stickiness is normal—marshmallows are mostly sweetener and gelatin!
Dusting the pan and finished marshmallows with arrowroot powder makes them much easier to handle.
After cutting them, lightly coat each exposed edge with arrowroot powder and shake off the excess.
How to Store Homemade Honey Marshmallows
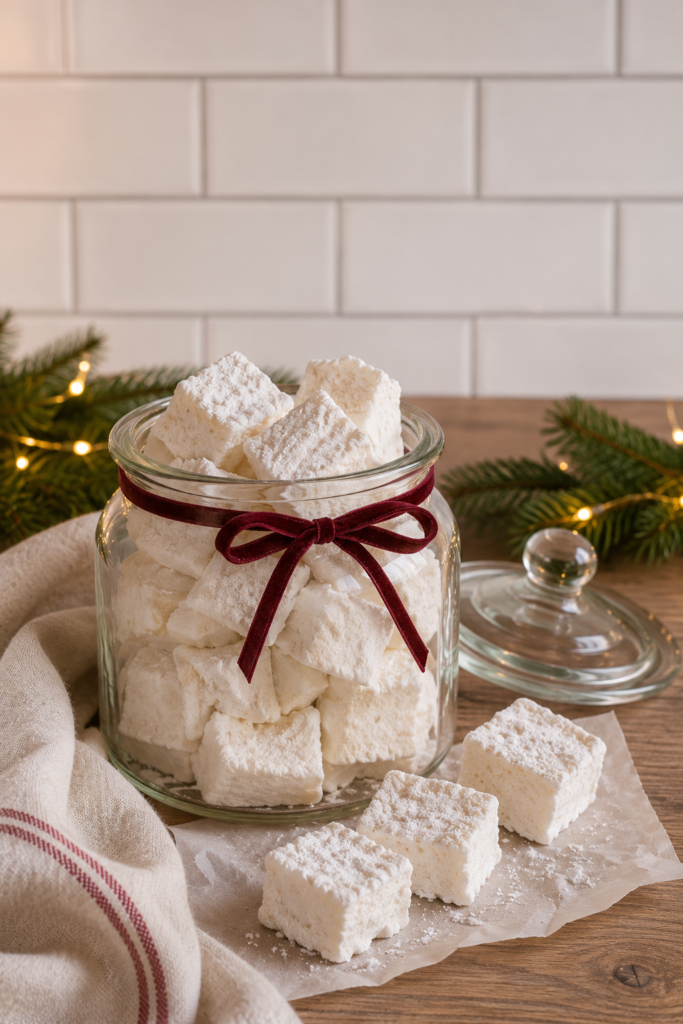
Store your marshmallows in an airtight container at room temperature.
Keep the layers separated with parchment paper if needed and make sure the marshmallows are lightly coated with arrowroot powder so they don’t stick together.
I prefer to wrap mine in parchment paper and place in a gallon ziplock bag or in a jar with a tight lid.
For longer-term storage, freeze drying is a great option.
A Simple Homemade Christmas Treat
One of my favorite parts of learning to cook more from scratch is discovering how many foods we normally buy can actually be made right in our own kitchen.
Marshmallows are a perfect example.
With sugar or honey, gelatin, water, vanilla, and salt, you can turn a few simple ingredients into a fluffy homemade treat.
Pair these homemade marshmallows with a warm mug of Homemade Hot Cocoa With No Refined Sugar for an easy winter treat the whole family can enjoy.

Homemade Marshmallows with no corn syrup
Ingredients
Equipment
Method
- Line an 8×8-inch (or larger) baking dish with parchment paper and lightly dust with arrowroot powder.
- Pour 1/2 cup cool water into the bowl of a stand mixer. Sprinkle the gelatin over the water and allow it to bloom for 5–10 minutes.
- Add the honey (or sugar), remaining 1/2 cup water, and salt to a small saucepan.
- Heat the honey (or sugar) mixture over medium heat until it reaches approximately 240°F on a candy thermometer.
- Turn the stand mixer on low. Carefully pour the hot honey syrup down the side of the bowl into the bloomed gelatin. (this will not smell good while the mixture is warm, see note about this in the blog post)
- Gradually increase the mixer to high and whip for approximately 8–12 minutes, until the mixture becomes thick, fluffy, and glossy.
- Add the vanilla during the final few minutes of whipping.
- Immediately transfer the marshmallow mixture to the prepared pan and smooth the top with a lightly greased spatula.
- Dust the top with arrowroot powder and allow the marshmallows to set at room temperature for 6–8 hours or overnight.
- pull out with the parchment paper onto a cutting board, cut into squares, and dust the cut edges with additional arrowroot powder if desired.
- Store in an airtight container or cut into small pieces for freeze drying.


One Comment