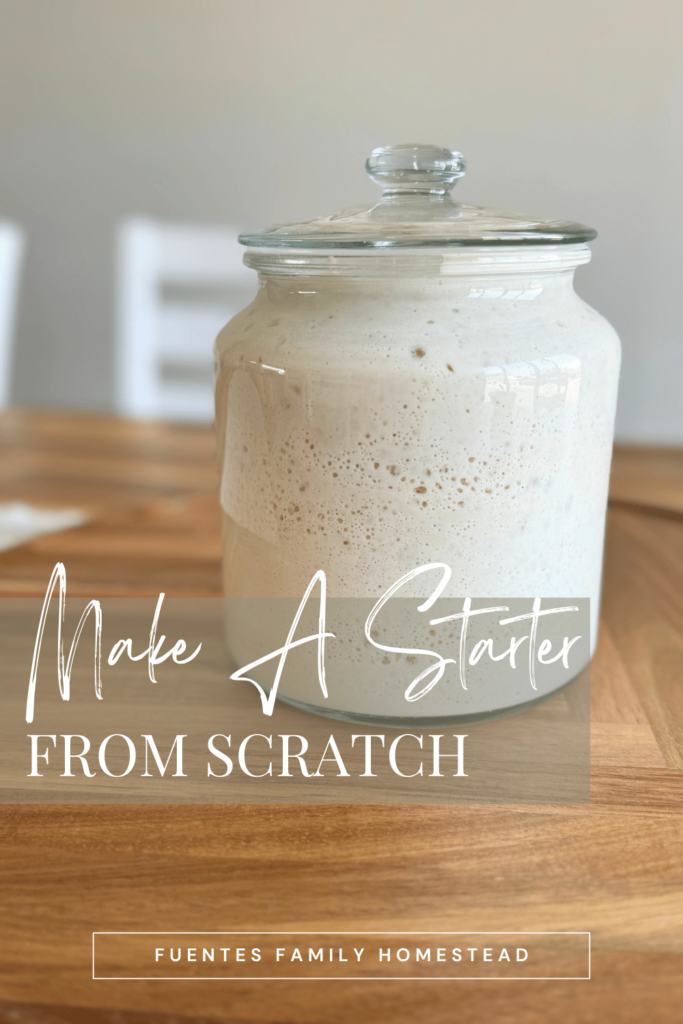
Make a Sourdough Starter From Scratch Easily Without a Scale
This post may contain affiliate links. Please read our disclosure policy.
Creating a sourdough starter from scratch without a scale can be simple and easy. Here you will find step-by-step instructions with a video tutorial included. I will show you how to get a thriving starter in 8 days without the overwhelm.
What Is A Sourdough Starter?
When you bake bread you have to have to have something to get that bread to rise. You can buy yeast and make your typical bread or you can make and use a sourdough starter to do the rising for you.
A sourdough starter is fermented culture of water and flour. You will be mixing flour and water and utilizing the naturally accuring bacteria and yeast in the air to get a product that will make your bread rise (or leaven).
Your starter is alive, which means you have to care for your starter and feed it. After you create a starter once it can last forever with simple maintenance. Don’t worry, it’s not as time consuming as it sounds and we will cover this in this post!
Making your own starter is a 8+ day process depending on your environment. This means you can start baking with your starter as early as day 8, but it may take longer than that and that is totally okay and normal.
In this guide you’ll find:
- ✅ Step-by-step written instructions
- ✅ Photos of each feeding day
- ✅ Printable Quick Start Schedule
- ✅ Troubleshooting tips
- ✅ A full video tutorial
Supplies
You can get a sourdough starter kit here! (This kit includes tools for baking as well) or you can just start with the basics listed below, that you can likely find in your kitchen.
Glass jar (32oz will give you plenty of room to grow, but you can start with a smaller one if that’s what you have, just be prepared for it to bubble over at some point!)
Light weight towel (tea towel or any kitchen towel will work)
Something skinny and stiff to stir with (You can start with the back of a spatula or a butter knife or a skinny spatula. I will also link my favorite sourdough stirring stick here if you want a stick just for your sourdough. It is very comfy for your hands and also provides a narrow bottom to get the bottom edges of the jar easily.)
Whole wheat flour Gives your starter a boost of nutrients for optimal results
All purpose flour
Water
Measuring cup (1/2 cup and 1/4 cup)
Step 1: Starting Your Sourdough Starter
You will begin your starter by mixing whole wheat flour and water. It is IMPORTANT to use whole wheat to start it because whole wheat has a lot of nutrients that will help to boost your starter.
Initial mixing:
1/2 cup of whole wheat flour
1/2 cup of water (Whatever water you drink with, this could be tap water or filtered water)
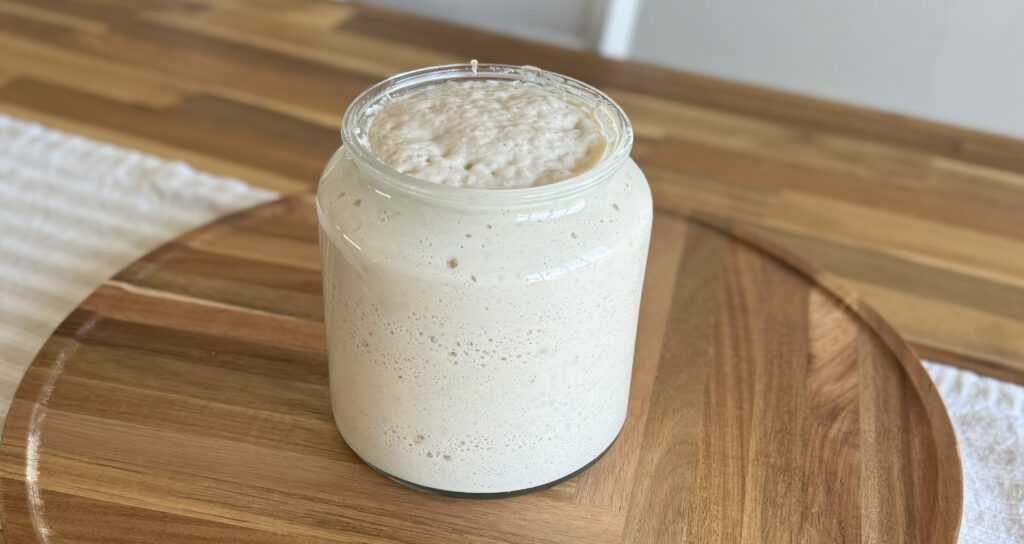
Mix these together in a jar, cover with a lightweight towel (flour sack towel or regular dish towel) and place in the warmest spot in your kitchen. (Do not put a sealed lid on it).
Tip:
If you live in a cold or DRY environment, you will need to create warmth and moisture in the air. You can put your starter in a warm laundry room or bathroom (far away from the toilet, please!)
OR
You can boil a pot of water once a day on your stove and place the starter on the counter nearbye to create moisture and warmth to the air around the starter.
About Feeding Your Sourdough Starter
Your starter will look different each day the week you start it. This will be different for each starter. It takes about a week to establish an active starter, but it CAN take longer. So don’t be surprised if you starter takes to a different timeline than your friend’s or maybe the one you saw on my instagram page. A big part of this is the environment. every climate and home is different and has an effect on how quickly your starter develops. Once you create a starter, you can maintain it forever so you only need to really do this starting process once.
Your starter is alive and needs food. The flour is the food for your starter so you when you feed your starter it will begin to give off gases that create bubbles and make it rise. Rising may happen on day 2 or day 8.
You feed every 24 hours and in that 24 hour period you should expect your starter to get fed, rise and “peak,” and then fall before it needs to get fed again.
(The term “peak” is referring to the highest point of its rise before it begins falling.)
At the beginning it may just bubble or it may rise just a little. As it progressess each day and matures it will begin to rise and eventually double (or triple) in size.
So in a 24 our period it will go through a cycle of rising and falling and the consistency of your starter will changed in that 24 hour period.
Get my FREE printable starter schedule here!
Step 2: Feeding Your Starter
You will do your feeds every 24 hours. Your time doesnt have to be exact so if you do it early or late that is fine and you won’t kill it. No need to start over, even if you miss a day. Just pick up where you left off.
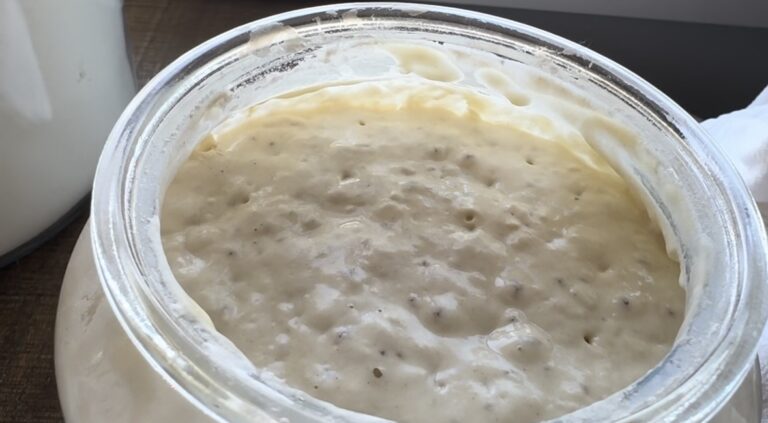
You feed your starter so that the bacteria and yeast have something to consume and feed off of. You can adjust the amount of flour you add to make sure it is a nice thick consistency like the photo to the left. The smell of your starter will not smell great as it is fermenting, as long as it’s not moldy it is good. Keep going and trust the process. I don’t like to describe smells as everyone tends to describe the smell a bit different and I don’t want you overthinking WHAT it smells like. Just know it is fermenting and the smell won’t be great.
Feeding Days 1-3:
During days 1-3 you do not need to discard because you should have plenty of room in your jar. Just feed your starter with 1/2 cup of all-purpose flour and 1/4 cup of water. Re-cover with your light weight towel and keep in that warm spot of your house.
Feeding Days 4-8:
You can begin discarding on day 4. You discard to create more space in your jar for the next feed and so you don’t end up with way too much starter. Discard about 1/3 cup of starter (you can do less or more, don’t overthink it). Then feed with 1/2 cup of all purpose flour and 1/4 cup of water. Re-cover with your light weight towel and keep in that warm spot of your house.
NOTE: The first 7 days, before your starter is fully developed, you will just throw your discard out in the trash.
You can start using your discard to bake with after about 7 days, once your starter is fully developed. You can save this discard for about a week in the fridge.
Step 3: Sourdough Starter Maintenance And Storage
Remember, your starter can last forever and the longer you have it, the more mature it is and the better it will work for your bread. Once your starter is established (after that first week and is active and bubbly, doubling consistently) you can begin to bake with it.
After you take out what you need to for your recipe, you will feed the remainder right after and then you have two options for storage.
- You can keep your starter on the counter and feed it daily
OR
2. You can place it in the fridge with a sealed lid on and it will only need to be fed every 1-2 weeks. (To use it again, just remove from the fridge and feed it and wait for it to double again on the counter).
Note: If your sourdough starter is in the fridge for longer without feeding it and there is no mold on it, you can revive it. I once left mine for four months and saved it! (gray liquid on top is called hooch and is not mold). You can just pour off the hooch, scrape the top layer off and feed it. I like to transfer to a new jar at this point.
Step 4: Start Using Your Sourdough Starter
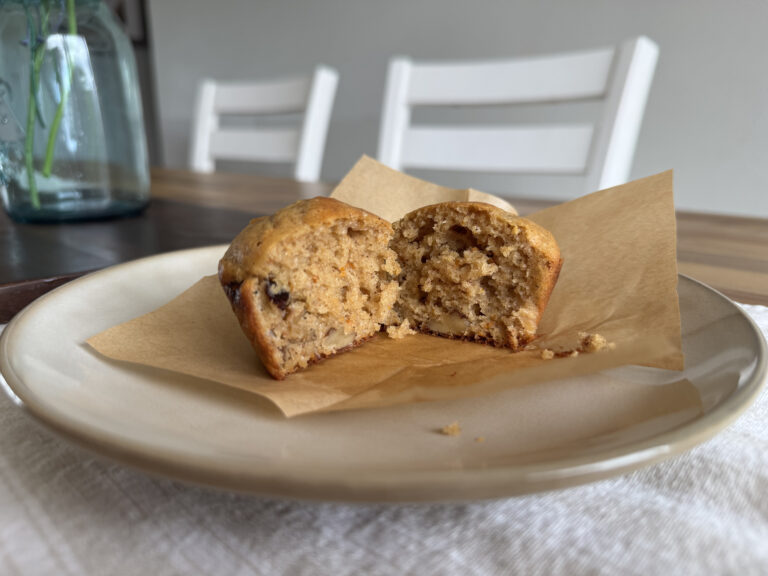
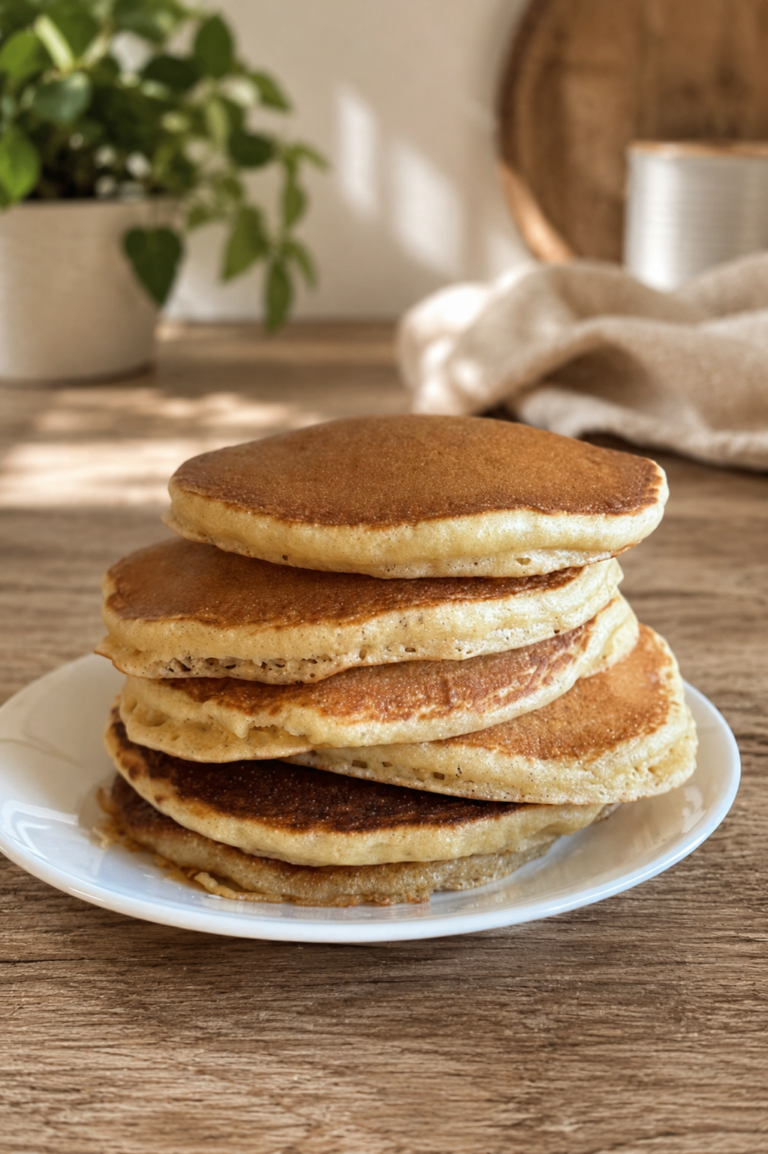
Now let’s get baking with your new starter! Here are some great beginner recipes:
Fluffy Sourdough Discard Pancakes
Troubleshooting Your Starter
If you follow this guide you will likely come out with a healthy and active starter, but if you are struggling with getting it where you want it to be, then this section is for you!
1 . Starter not doubling or very bubbly around day 4-5?
Did you start with whole wheat? This commonly happens if you don’t start with whole wheat. What you can do is give it one feed of whole wheat to boost it. Whole wheat has nutrients that helps your starter thrive.
2. Starter not doubling or bubbling and you DID start with whole wheat? Three things to help this:
–Thicken up your starter. Add in a little extra flour to thicken it up. It should NOT be runny after your feed. It will thin out before your next feeding, but it should not be thin and runny right after you feed it.
-You need to add warmth AND MOISTURE to the air. Boil a pot of water on the stove once a day and have your starter near by OR you can place it in a more humid room in your house. Some of my students have had success with a laundry room or bathroom (away from the toilet preferably 😆). Experiment with different rooms in your house that create a warm, moist, cozy environment.
-If neither of these work, remove 1/2 cup of your starter into a NEW jar and feed it the 1/2 cup all purpose flour and 1/4 cup water (room temp to slightly warm may help too). Give it another day or two in order to see results!
3. Starter has liquid on top or bottom?
This is called hooch and it is normal. It means your starter is out of food and hungry. Just feed it at your normal feed time and make sure your starter is on the thicker side when you feed it. It should not be thin or runny. Refer to photos on feeding page for consistency example.
Final Thoughts:
Learning sourdough can feel intimidating at first, but I promise it doesn’t have to be. Every experienced sourdough baker started exactly where you are now—with an empty jar, a little flour, and lots of questions.
The most important thing you can do is stay consistent. Feed your starter, be patient with the process, and don’t get discouraged if it takes a little longer than expected. Sourdough is incredibly forgiving, and once your starter is established, it can become a part of your kitchen for years to come.
If you haven’t already, don’t forget to grab my FREE Sourdough Starter Quick Start Schedule. It’s a printable daily checklist designed to help you confidently create a sourdough starter from scratch without feeling overwhelmed.
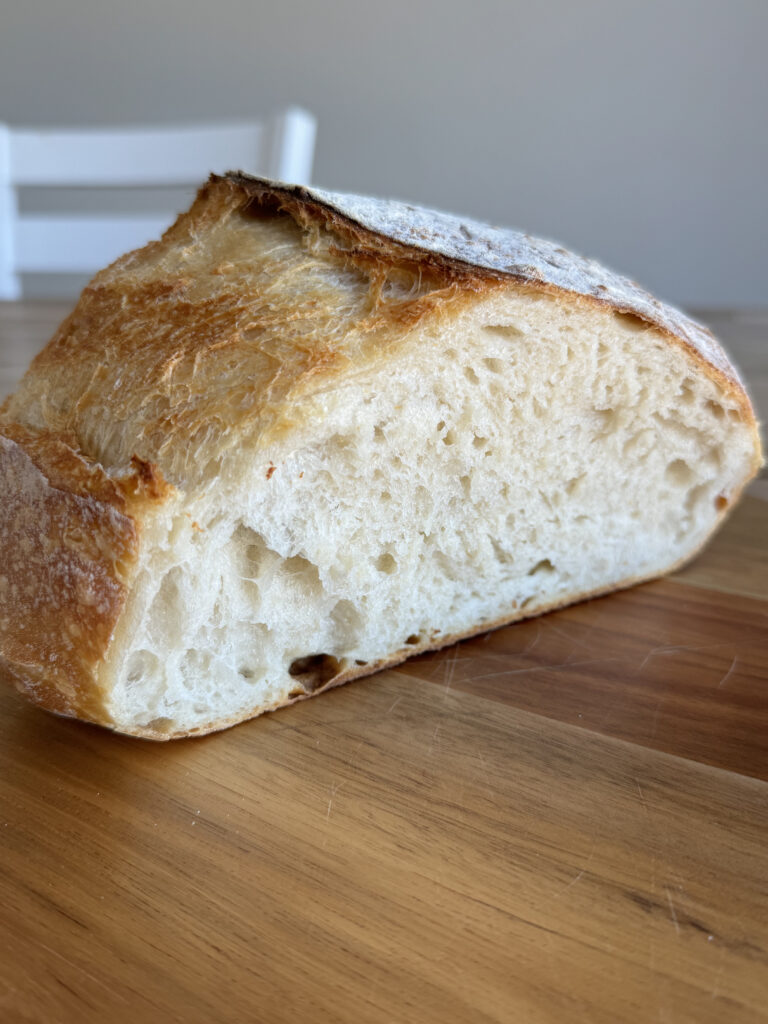
Once your starter is bubbly and active, you’re ready for the fun part—baking! Be sure to check out my beginner-friendly sourdough recipes, including Artisan Sourdough, sandwich bread, discard recipes, and other family favorites to help you build confidence one loaf at a time.
If this guide helped you, I’d love to hear from you! Leave a comment below with your questions or let me know how your sourdough starter is doing. I’m cheering you on, and I can’t wait to see what you bake next.
Happy baking!
♡Emily


Thanks a lot for such detail exclamation
You’re welcome! Thank you for being here 🙂
This is super detailed and helpful. Thankyou I can’t wait to get started!
You’re so welcome! Thank you for the feedback, Excited for you to start!
Thank you so much you’ve made this super easy to make. Question is when I start making bread does it have to be bread flour?
Hey! You’re so welcome! No, I actually don’t ever use bread flour and just use all purpose flour for my bread! You can get my free bread recipe download here!
Thank You!!!! You have broken this down so simply and detailed that I no longer feel intimidated. Today I started my starter for the 1st time ever. I even went to a class 55$ later and still left not confident at all. I wouldn’t mind buying the bread but I couldn’t believe that finding a bakery that makes fresh sourdough is not as easy as one would think. Blessings to you and your family for sharing a beautiful tradition that I hope to learn and pass on.
aww I’m so glad that this was helpful! Nothing like fresh bread and once you make it you won’t ever need to buy it again! Happy baking!! 🙂
Hi I am trying to ring your sourdough course but most of your links aren’t working.
Hey! Sorry the links don’t seem to be working for you. I just tested them out and couldn’t find the ones that weren’t working as they all seemed to work for me. You can also find all my links an content on my Instagram page @fuentesfamilyhomestead 🙂
Hi Emily I have a few questions
1) when we keep the starter on the counter(for maintain) or in the fridge in what ratio do we feed it?
2) will I throw away the discard at the maintenance stage either on the counter or in the fridge?
3) when we take it out on the fridge does it have to come to room temperature in order to feed it?
4) the discard is thrown away is every day at the stage 4-8 days or once on the fourth day?
Out of all the hundred videos I watched…. Finally found clarity by reading this… I’m on my day 2 of making from scratch for 1st time already got some bubbles and doubling.. Will try to feed for more 3_4days..hope to get perfect
Thank you, I was frustrated and now realize I was overthinking it.
Great job on this informative article. I appreciate how practical the site is.
Hi Emily!
I want to thank you for your website and specifically for your sourdough starter recipe & instructions. I tried multiple YouTube creators’ recipes and failed time after time. Yours was my last attempt before I gave in and asked a friend for some of her starter. To my happy surprise, it worked! My starter is still young, but I can see it getting more active and stronger every day! I made your overnight artisan sourdough bread and it came out really good – my family loved it! And it inspired me to keep going. Today, I am making the discard pizza dough…in the coming days, the discard lemon squares and apple pie muffins!
I love your website & videos and will continue to follow. I was a homeschooling, stay at home mom…so happy for you and your family that you could and did make those choices. Blessings to you and yours! Paula
Paula, Thank you so much for the comment. I am THRILLED that your sourdough starter and first bakes have worked out and am excited for you to keep baking! I am so happy to have connected here with you and look forward to hearing about more of what you make! If you have any recipes you would like to see on the blog or a tutorial on YouTube, just let me know and I would be happy to prioritize what you would like to see!
With love, Emily 🙂